
Thermostat Installation and Replacement in Arizona: A Step-by-Step Guide
RA
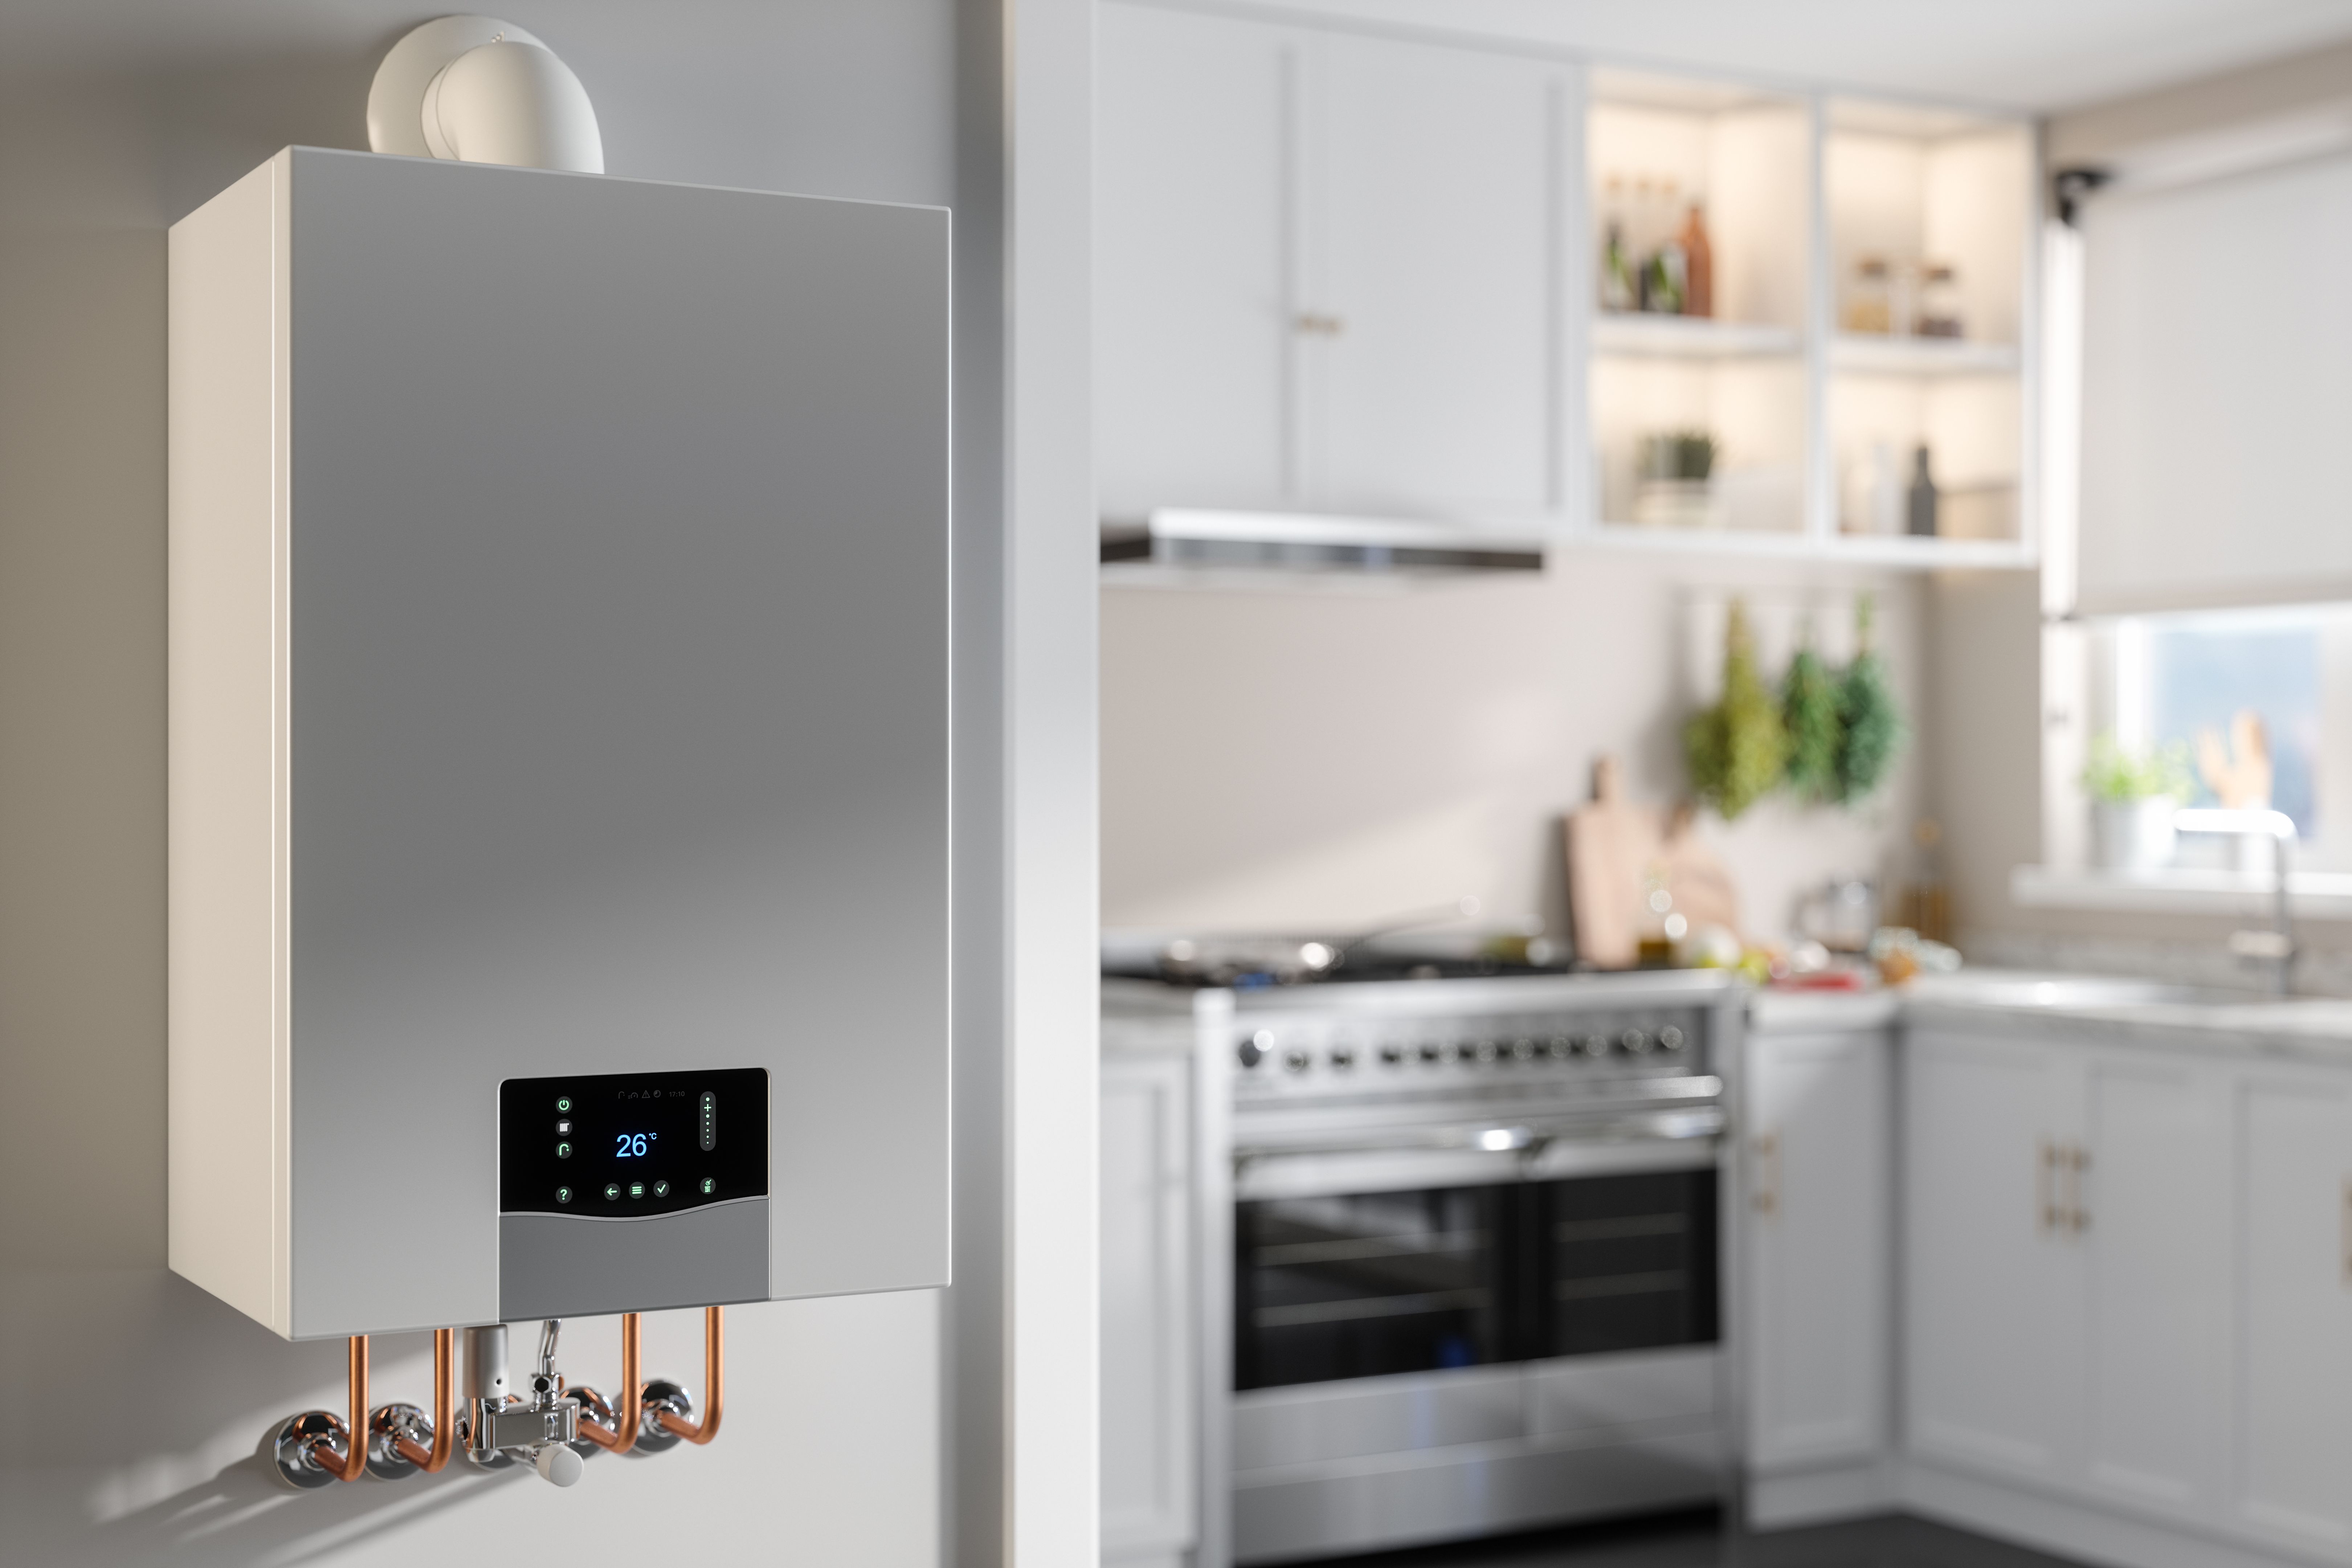
Understanding the Importance of a Thermostat
In Arizona's scorching climate, a properly functioning thermostat is more than just a convenience—it's a necessity. A well-installed and accurately set thermostat can significantly reduce energy consumption, leading to lower utility bills. Whether you're installing a new device or replacing an outdated model, understanding the steps involved can make the process smoother and more efficient.
Gathering Your Tools and Materials
Before starting the installation or replacement, ensure you have all the necessary tools and materials at hand. You'll need a screwdriver, drill, level, and potentially some wire nuts and electrical tape. For those replacing a thermostat, having the model number of your old thermostat can be helpful for compatibility checks.
It's also wise to read through the instructions provided with your new thermostat. Many modern thermostats come with user-friendly guides that simplify the installation process significantly.
Safety First: Turning Off Power
Always prioritize safety by turning off the power to your HVAC system at the circuit breaker before beginning any work. This step is crucial to prevent electrical shock or damage to the system. Confirm that the power is off by adjusting the thermostat and ensuring that the heating or cooling system does not respond.
Removing the Old Thermostat
If you're replacing an existing thermostat, start by removing it from the wall. Carefully disconnect the wires, making sure to label them for easy reconnection later. Most thermostats will have a standard color-coding system, but labels will ensure absolute accuracy.
Installing the New Thermostat
With everything prepared, it's time to install your new thermostat. Begin by mounting the base plate on the wall using screws and a drill. Make sure it's level to ensure accurate temperature readings. Next, reconnect the wires to the appropriate terminals on your new device.
Once all wires are securely attached, attach the thermostat display to the base plate. Refer to your specific model's instructions, as these can vary slightly between different brands and types.
Testing Your New Thermostat
After installation, turn the power back on at the circuit breaker. Test your new thermostat by setting it to both heating and cooling modes to ensure that it's communicating correctly with your HVAC system. If it doesn't work as expected, double-check your wiring connections.
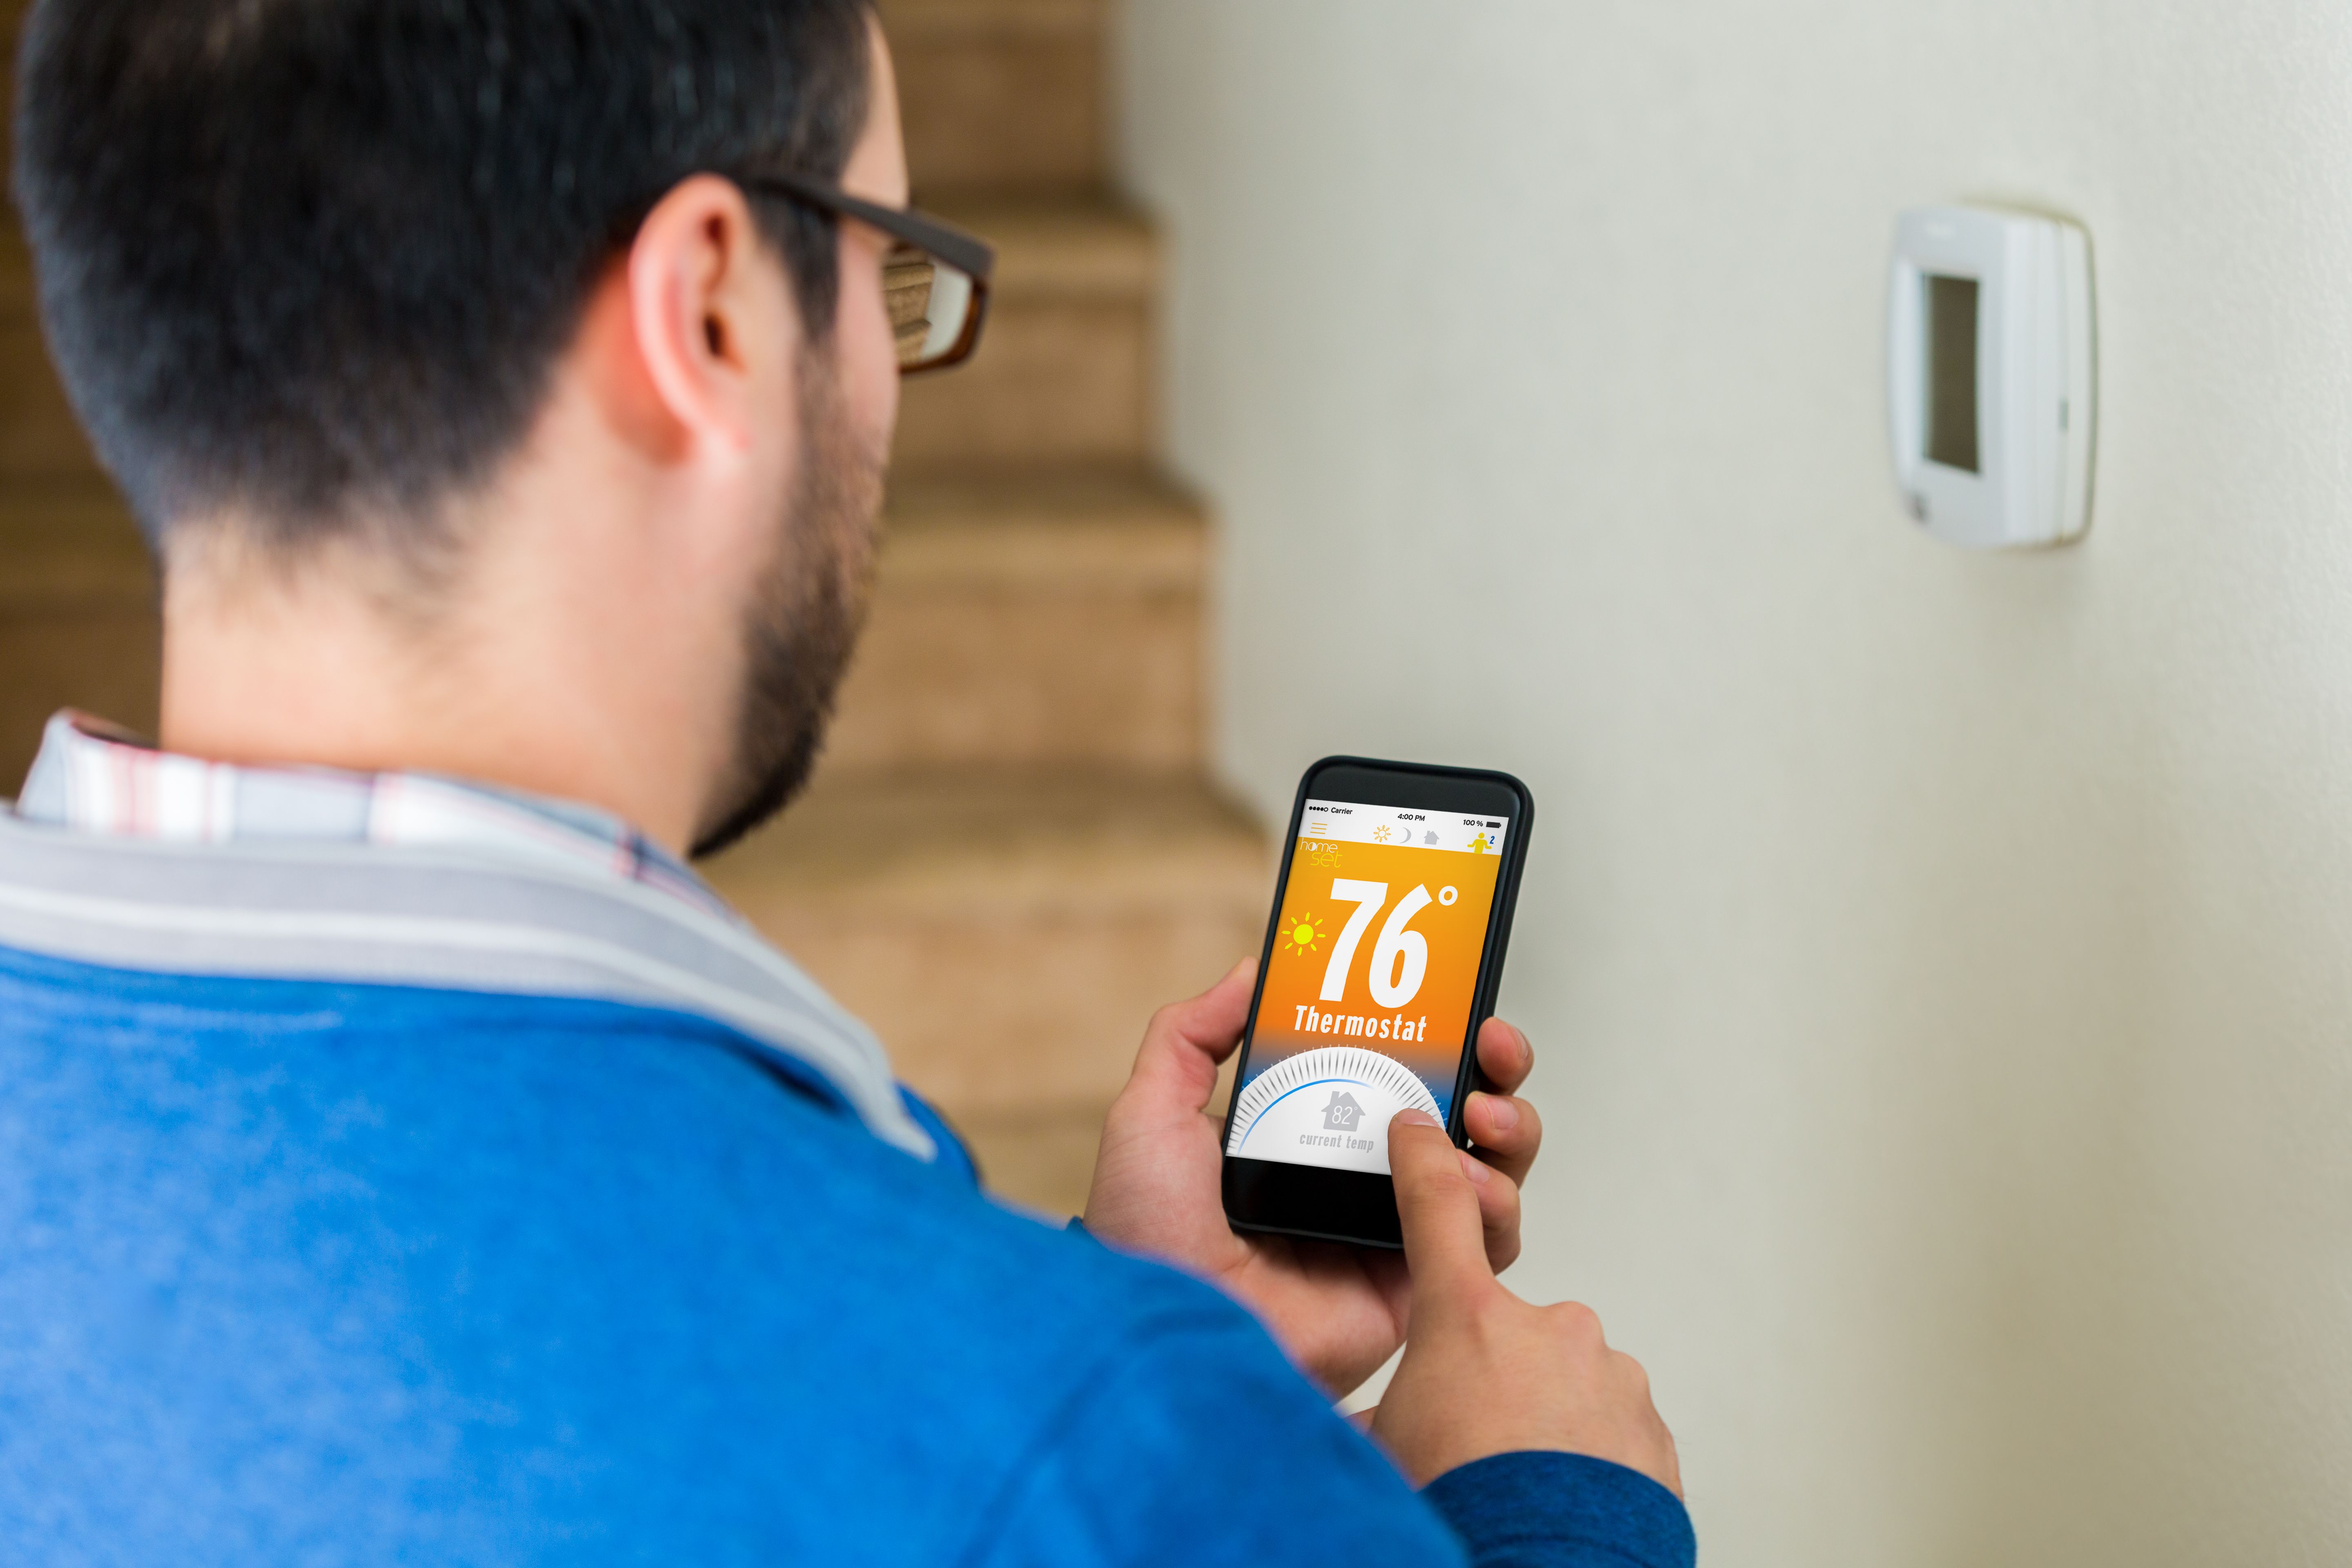
Programming Your Thermostat
Many modern thermostats offer programmable or smart features that allow you to optimize temperature settings based on your schedule. Take advantage of these options to maximize energy efficiency and comfort in your home. Setting a schedule for different times of day can lead to significant energy savings.
Troubleshooting Common Issues
If you encounter issues, there are several common troubleshooting steps you can try. Ensure that all wiring connections are secure and check that the thermostat is receiving power. If problems persist, consulting with a professional may be necessary.
By following these steps, you can successfully install or replace a thermostat in your Arizona home, ensuring comfort and efficiency throughout the year.